
You can buy UPS labels for any WooCommerce order, whatever shipping the customer chose at checkout, including free shipping. UPS is contacted only when you get rates, buy a label or void one.
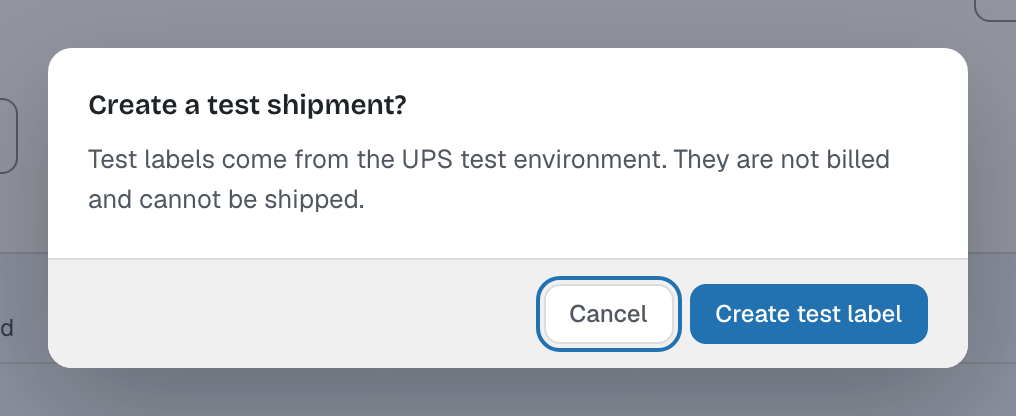
Note: In Test mode labels come from the UPS test environment: they are free and cannot be shipped. Use it to try the steps below before you switch to Live in WooCommerce → UPS Center → Settings.
1. Open the order
Open the order in WooCommerce → Orders. The UPS Shipping box shows the shipping status, the shipping chosen at checkout and the suggested cartons. Click Open UPS Shipping.
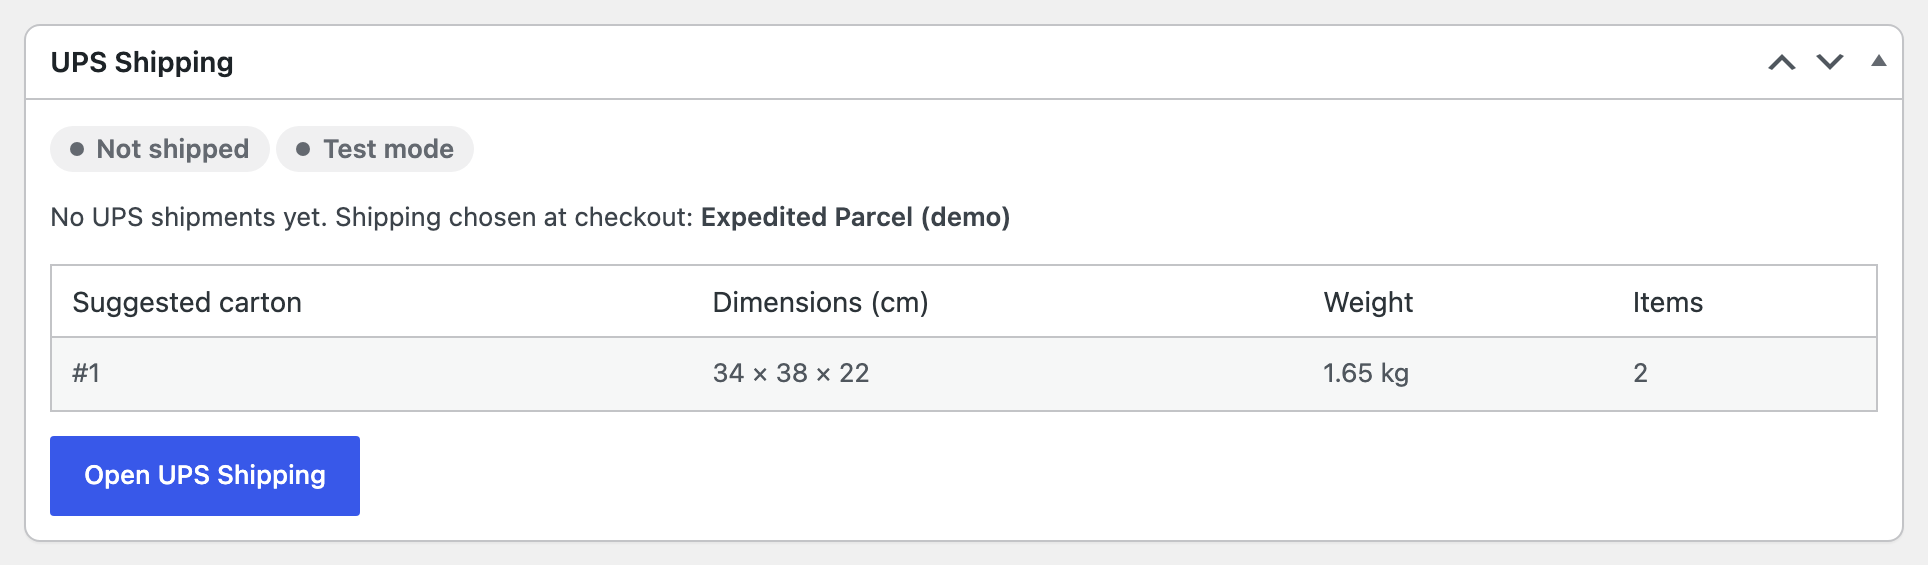
You can also click the UPS shipping action (the car icon) next to an order in the orders list.

Both open the Ship order screen in the UPS Center.
Note: To ship from the order page instead, turn on Full shipping panel in the order page in the UPS Center settings. The steps are the same.
2. Check the addresses
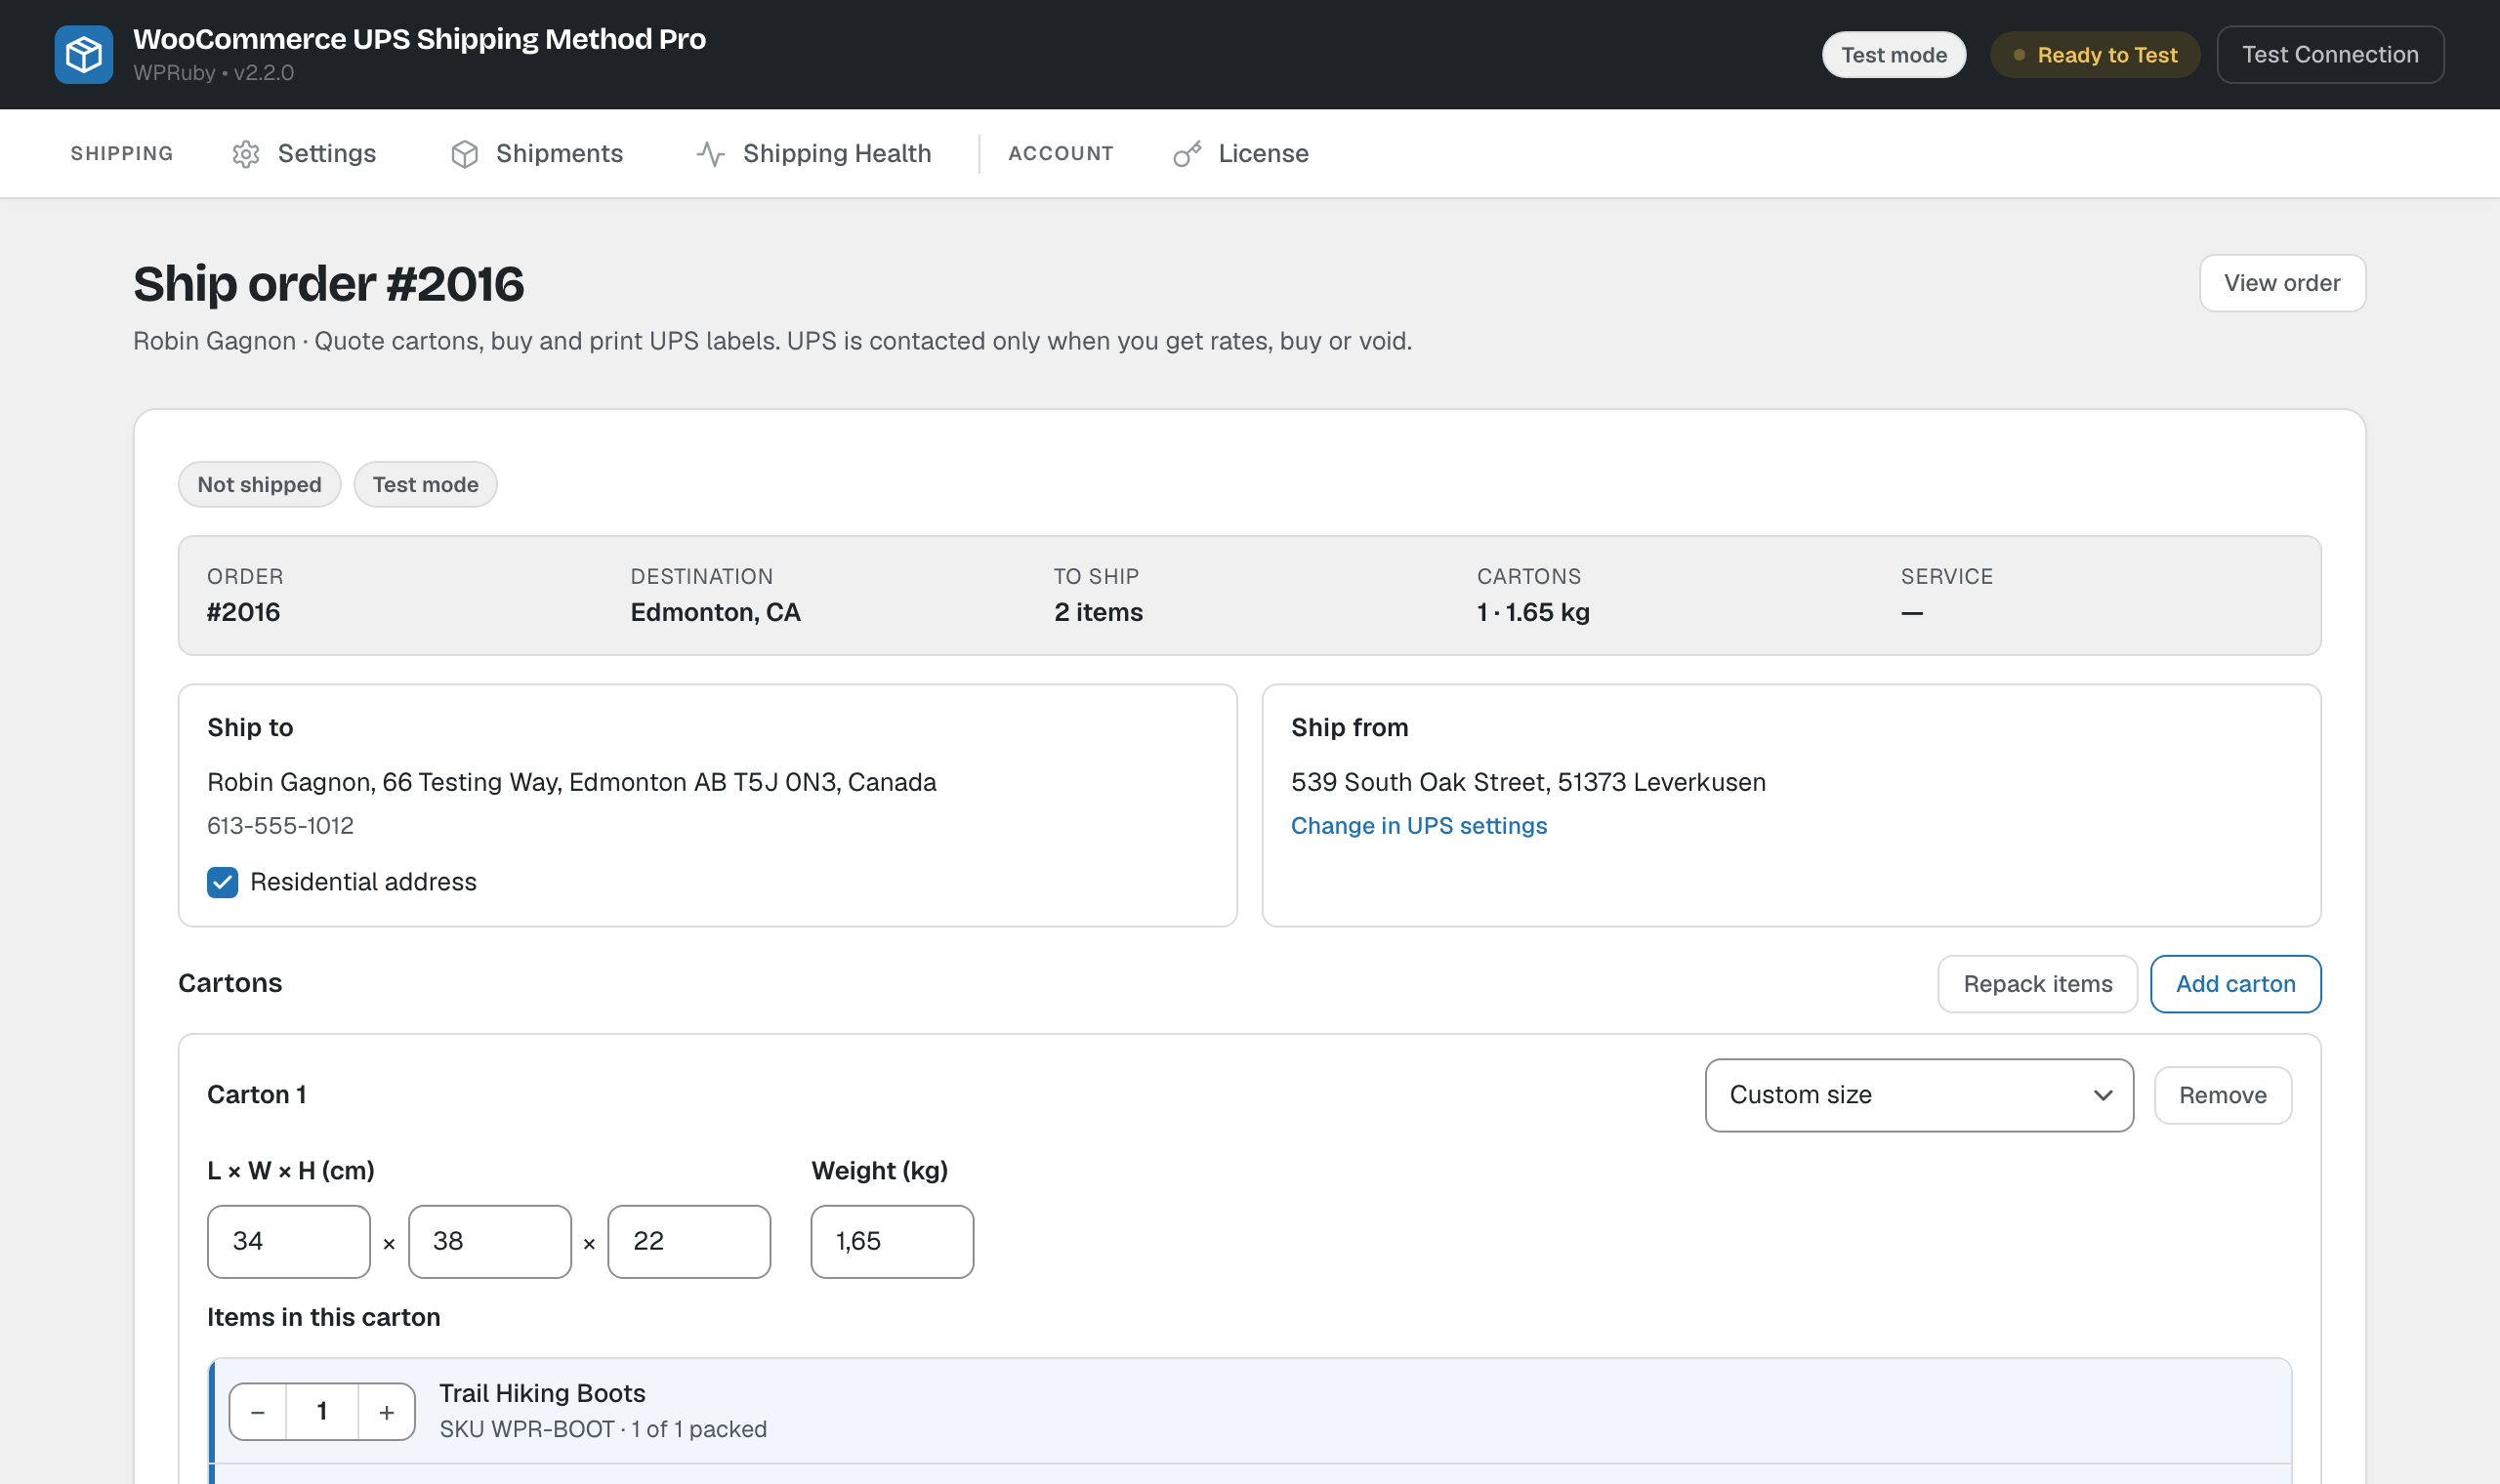
- Ship to is the order’s shipping address. Tick or untick Residential address; UPS rates residential deliveries differently.
- Ship from is the ship-from address from the settings. Click Change in UPS settings to edit it.
Warnings are shown above the addresses when a product has no weight or dimensions. Check those cartons before quoting.
3. Pack the cartons
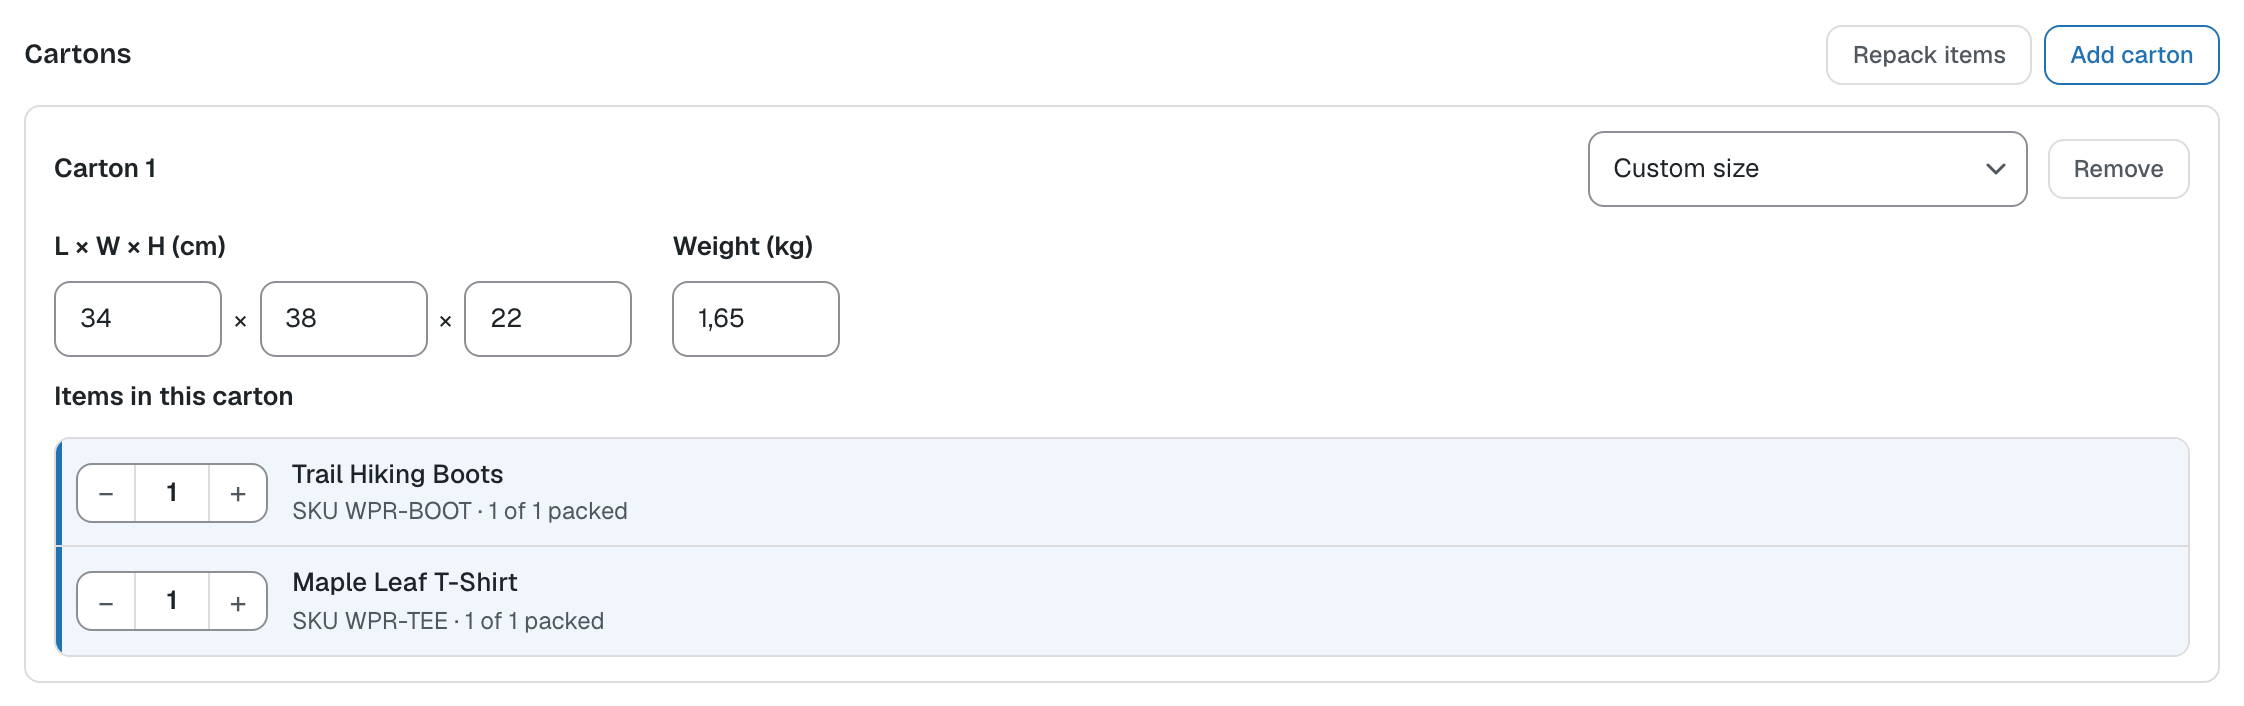
The items still to ship are packed into suggested cartons, using your carton presets. For each carton you can:
- pick a carton preset, or keep Custom size and type the length, width and height;
- change the weight;
- use the − and + buttons to choose how many of each item go in it;
- click Remove to delete it.
Click Add carton to add another carton, or Repack items to go back to the suggested cartons. Items that are not in any carton stay unshipped, so you can ship an order in several shipments.
4. Get rates and choose a service
Click Get rates. UPS rates all the cartons together and returns every service available for the address, with the delivery time. With negotiated rates on, your negotiated price is shown with the list price next to it.
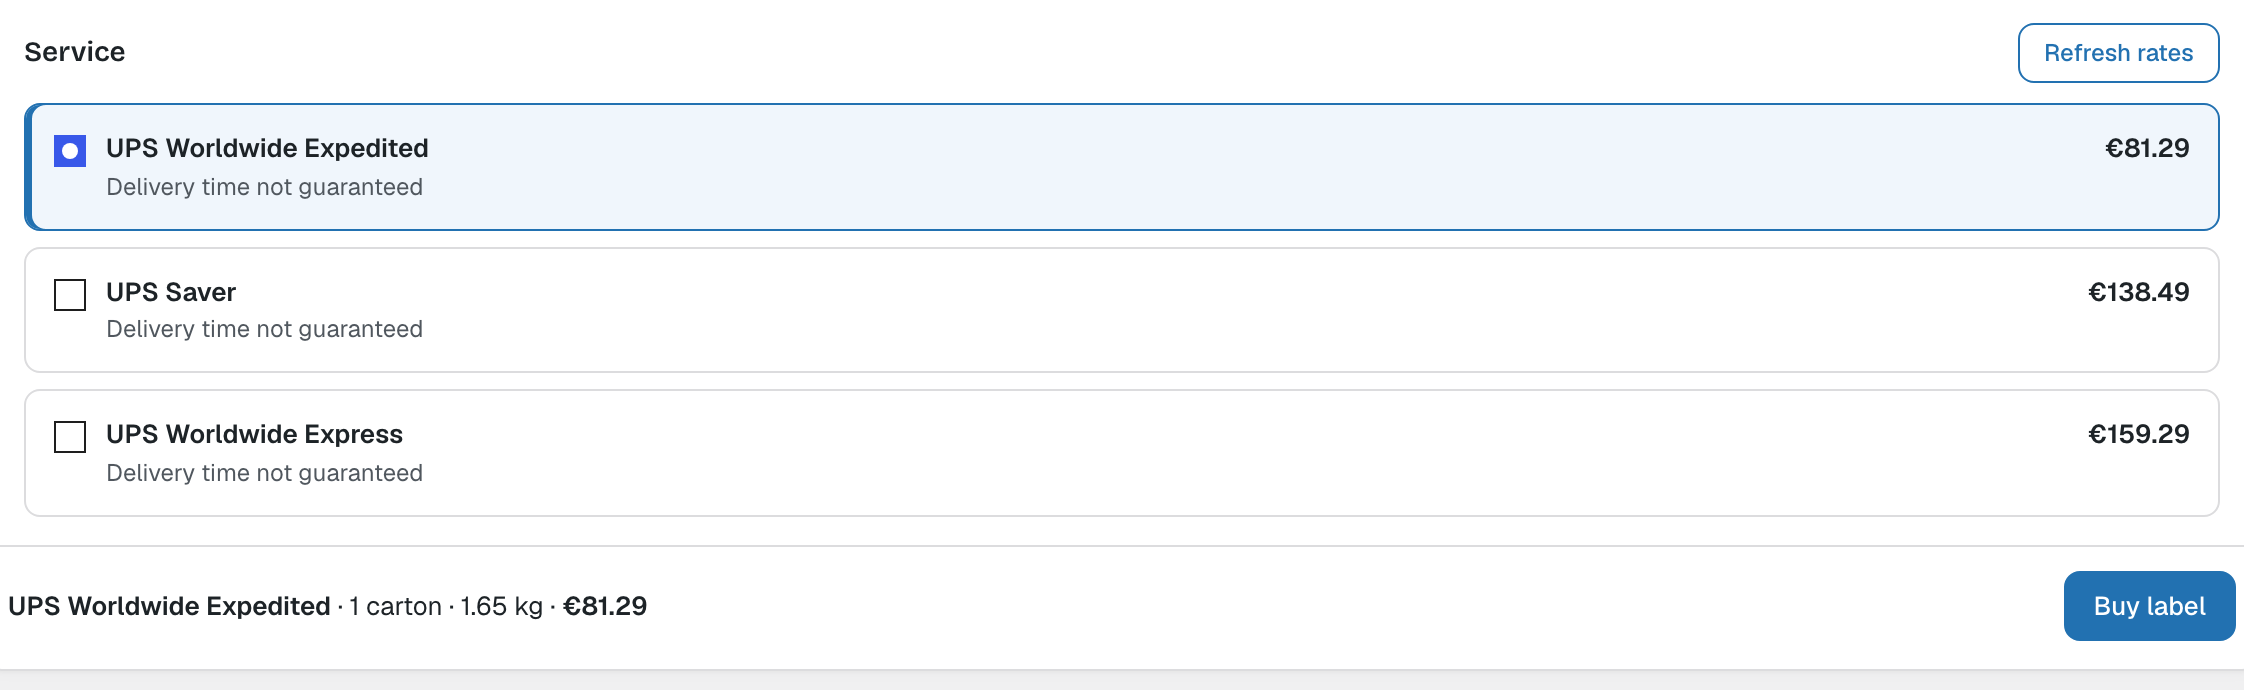
Choose a service. If you change a carton after getting rates, click Refresh rates before buying.
5. Buy the label
Click Buy label and confirm. In Live mode UPS bills the price shown to your UPS account. Each carton gets its own label and tracking number.
Only users who can manage WooCommerce (administrators and shop managers) can buy and void labels.
6. Print the labels
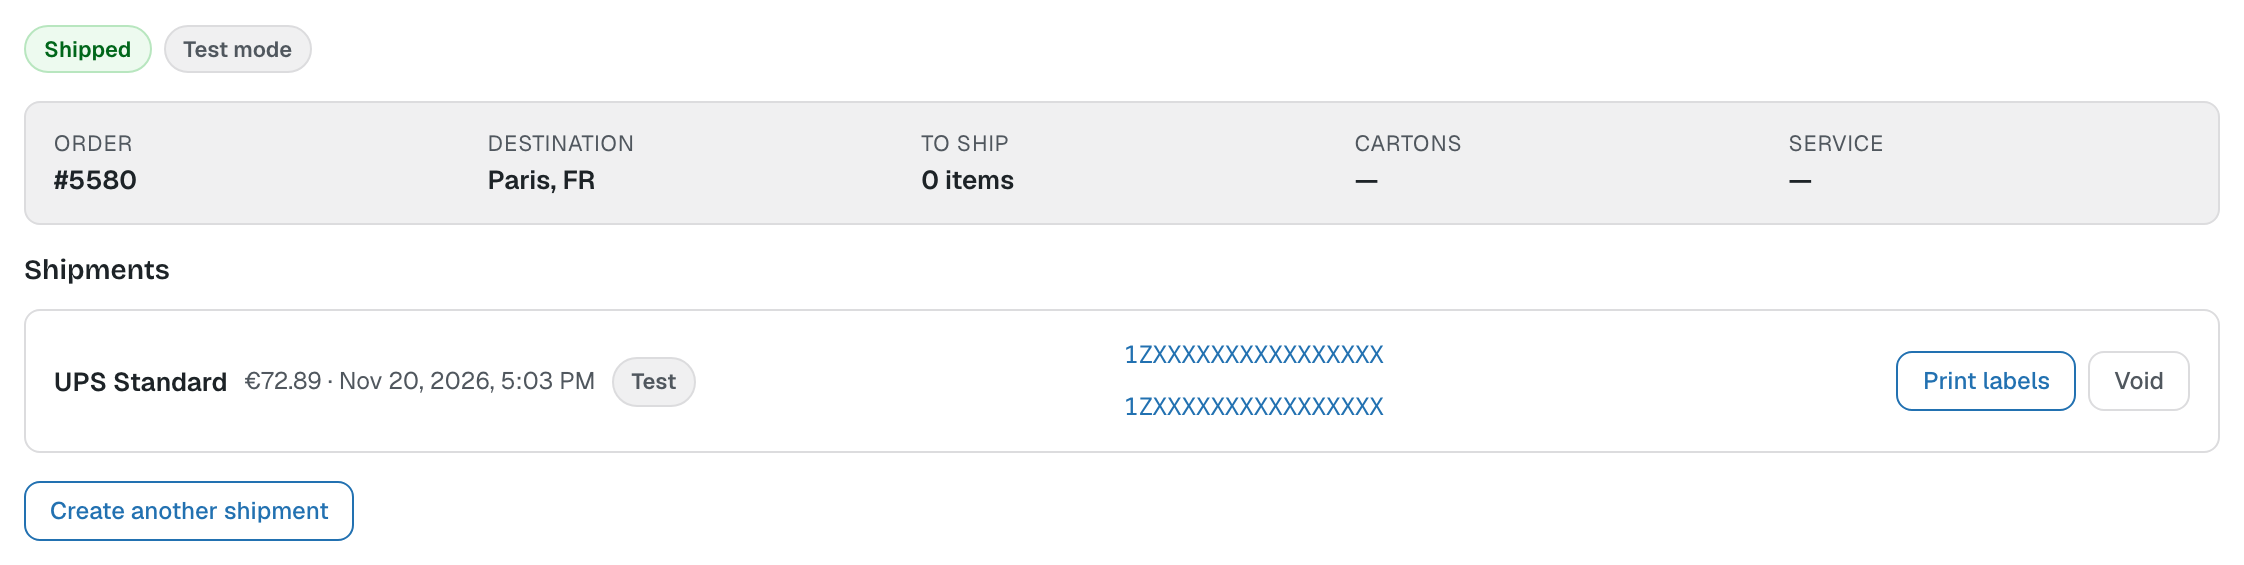
The new shipment is listed under Shipments, with its tracking numbers. Click Print labels to open the 4×6 labels, ready to print, or Download ZPL if you use ZPL labels.
Use Rotate on the label page if your printer needs the label turned. You can print labels again at any time from the order page or from WooCommerce → UPS Center → Shipments.
A note is added to the order with the service, cost and tracking numbers, and the tracking numbers are sent to your customer. See UPS tracking numbers and order completion.
Ship the rest later, or ship again
After a shipment, the order shows as Partially shipped or Shipped. Click Create another shipment to ship the remaining items, or to send a replacement once everything has shipped.
Void a label
Click Void next to a shipment and confirm. The shipment is cancelled at UPS and its labels can no longer be used. Its items can then be shipped again. See Managing UPS shipments.