
WooCommerce GLS Canada Shipping Pro connects your store to GLS Canada through the official GLS Canada API. You need WordPress 6.5 or newer, WooCommerce 8.9 or newer and PHP 8.1 or newer.
1. Install the plugin
- Download woocommerce-gls-canada-shipping-pro.zip from your WPRuby account (Purchase history).
- In WordPress go to Plugins → Add New Plugin → Upload Plugin, choose the ZIP file and click Install Now.
- Click Activate.
2. Open the GLS Canada Centre
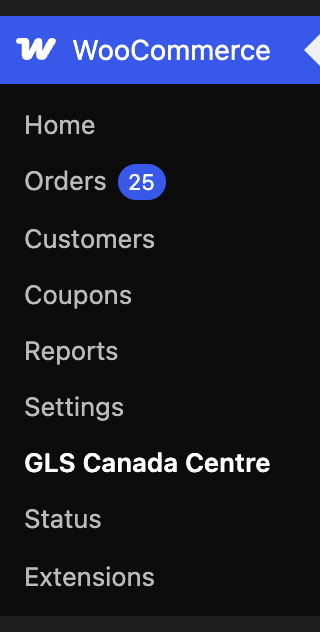
Everything is managed in WooCommerce → GLS Canada Centre: settings, the Label Printer, bulk fulfillment, pickups, Shipping Health and your license.

The header shows the environment (Sandbox or Production) and the connection status. The plugin starts in Sandbox mode, where nothing is shipped or billed.
3. Next steps
- Activate your license to receive updates and support.
- Get your GLS Canada API access and enter your credentials.
- Fill in the settings, then add GLS Canada to a shipping zone.
- Open Shipping Health and click Run checks to see what is still missing.