
Bulk Fulfillment creates GLS shipments and labels for many orders at once, in the background.
1. Find the orders
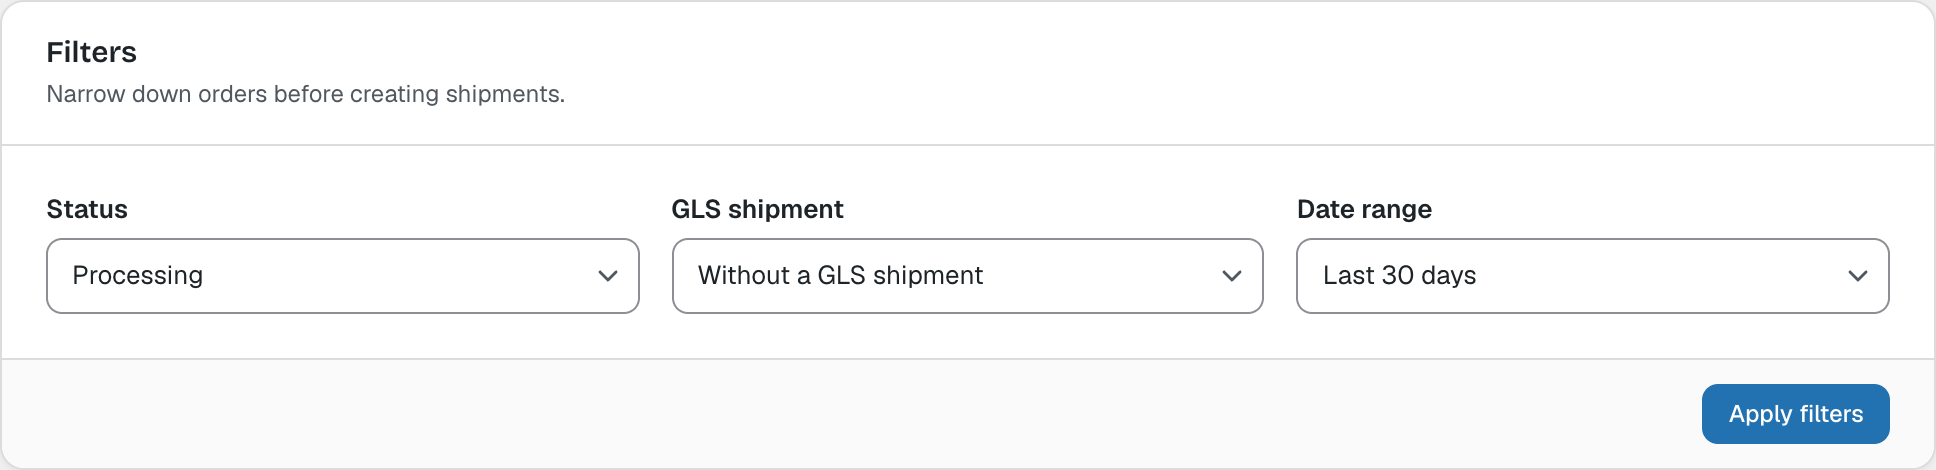
Go to WooCommerce → GLS Canada Centre → Bulk Fulfillment. By default it lists processing orders from the last 30 days without a GLS shipment. Change the filters and click Apply filters.
2. Check readiness and select orders
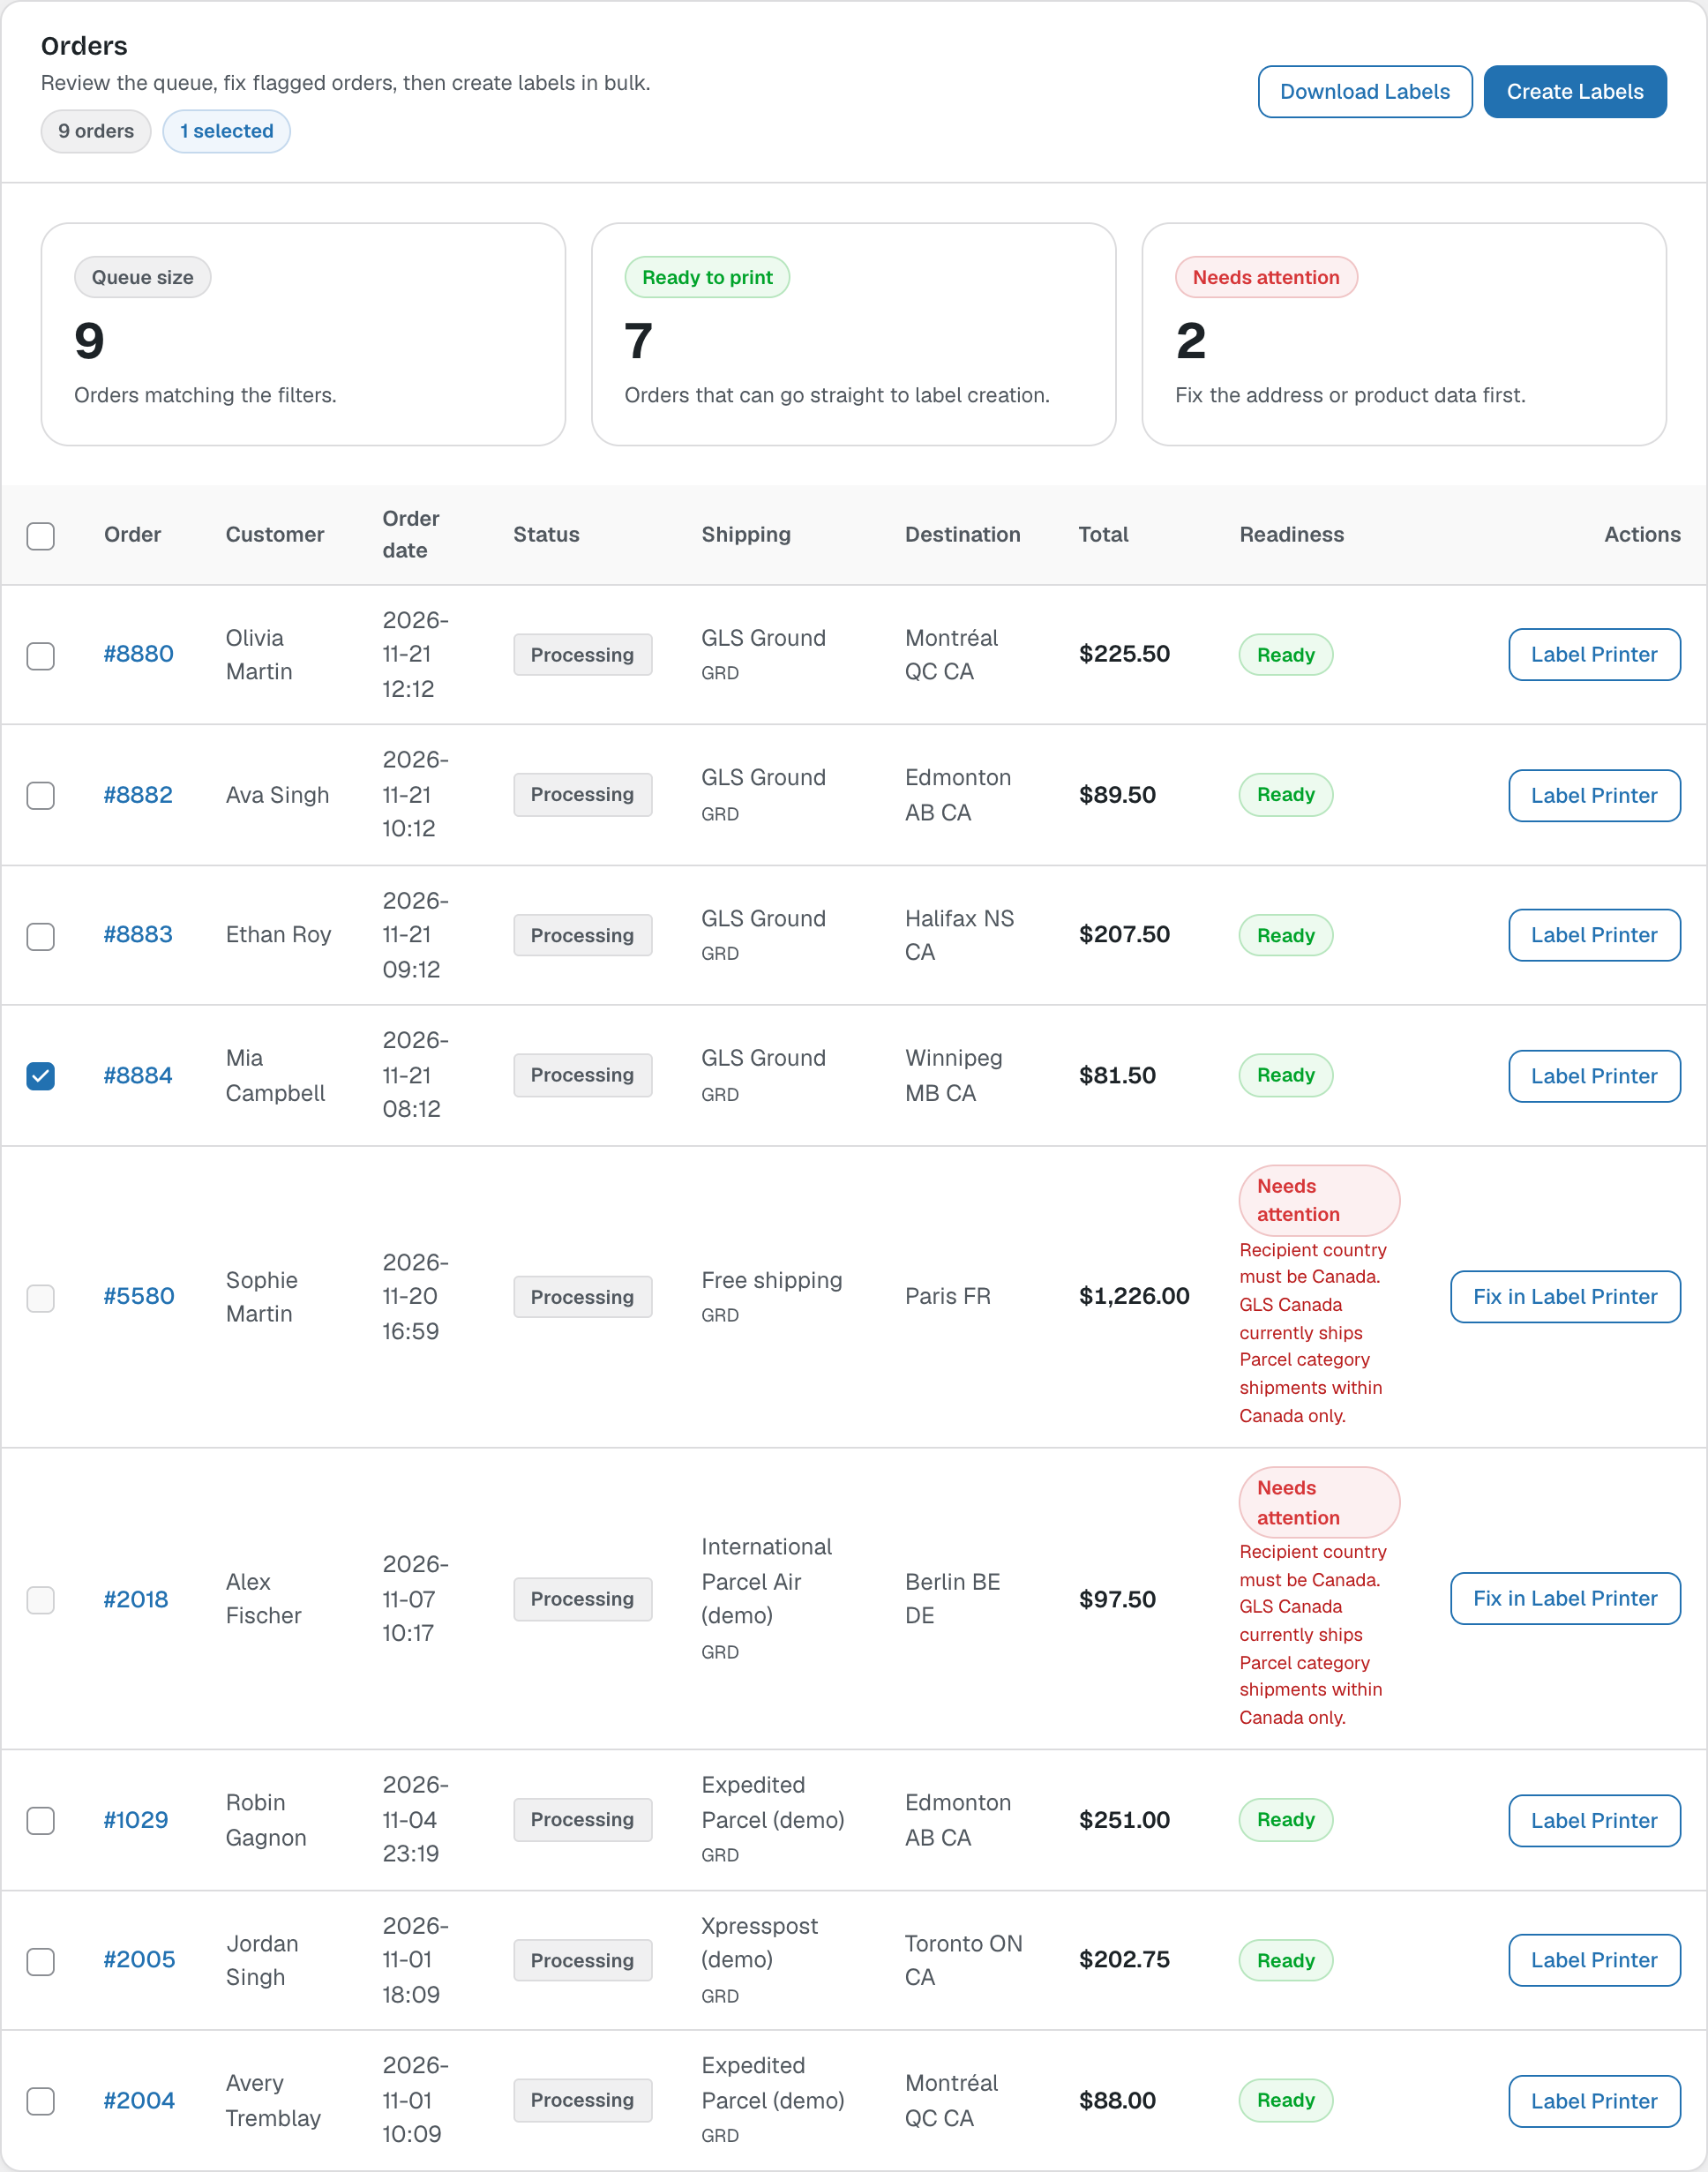
Each order is checked before you start. Ready orders can go straight to label creation. Needs attention orders show the problem (for example an address outside Canada or a product without weight); click Fix in Label Printer.
3. Create the labels
Select the orders and click Create Labels. Shipments are created one order at a time in the background, with the default service and options from the settings. You can leave the page; come back to see the progress.
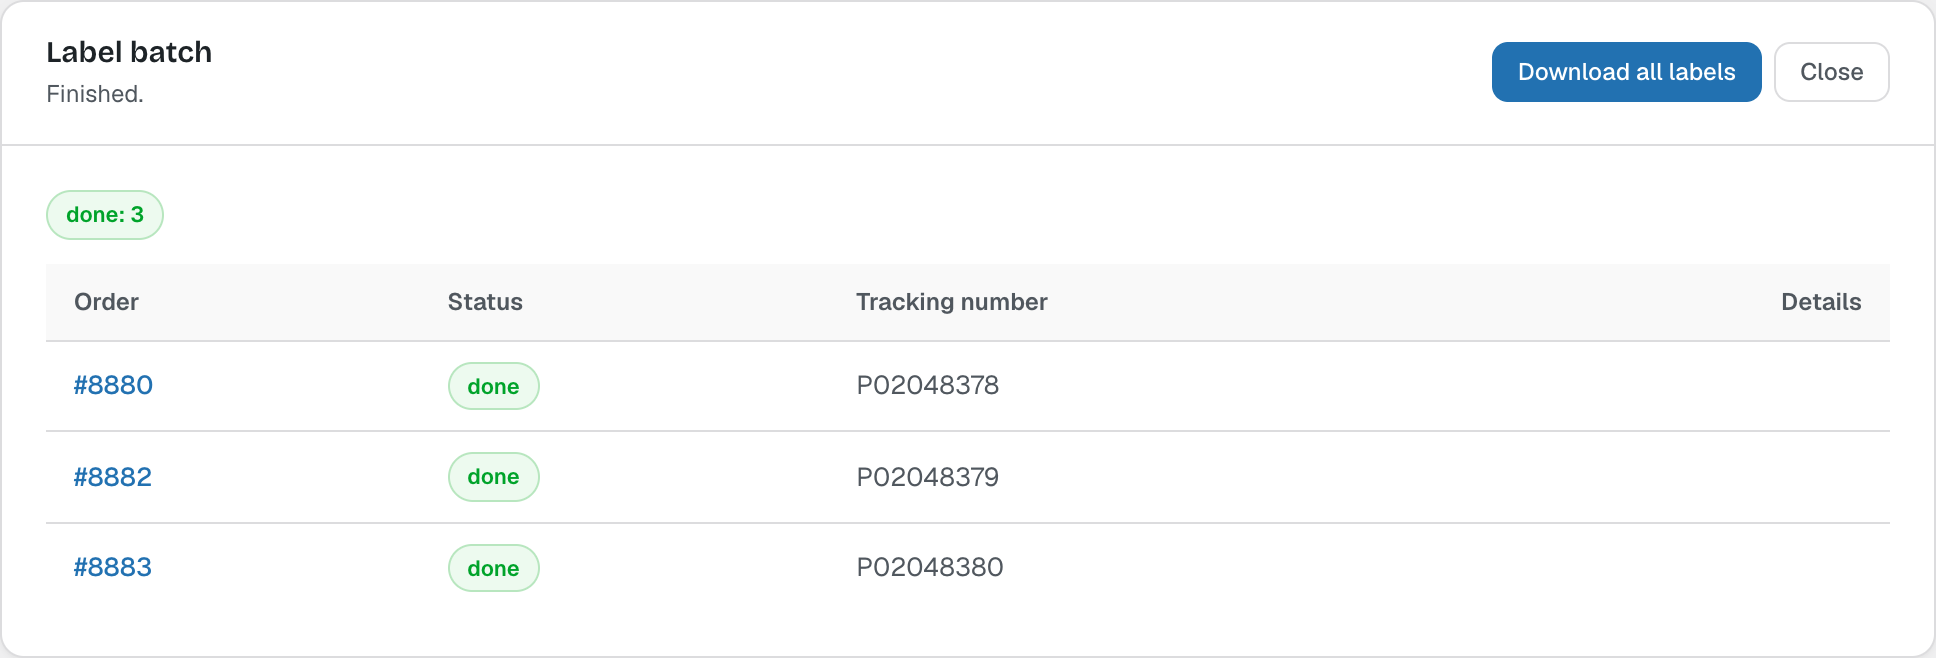
When the batch is finished, click Download all labels to get one PDF (one label) or a ZIP file. Failed orders show the reason and can be retried.
From the orders list
In WooCommerce → Orders, select orders and use the bulk actions GLS: Create shipments & labels, GLS: Download labels or GLS: Refresh tracking. The GLS column shows each order’s tracking number.