
Requirements
| Minimum | Tested up to | |
|---|---|---|
| WordPress | 6.7 | 7.1 |
| PHP | 7.4 | – |
| WooCommerce | 9.6 | 11.2 |
Install
- Download
gemelune-<version>.zipfrom your WPRuby account. Don’t unzip it. - In WordPress, go to Appearance → Themes → Add New Theme → Upload Theme.
- Choose the ZIP, click Install Now, then Activate.
- Install and activate WooCommerce if it isn’t active yet.
The setup checklist
Appearance → Gemelune is the theme’s own screen. It starts with a checklist that ticks itself off as your store takes shape:
| Step | Done when |
|---|---|
| Activate WooCommerce | WooCommerce is active |
| Add your pieces | You have at least one published product |
| Add your logo | The site has a logo (without one, the site title is set as a wordmark) |
| Write your information pages | Your size guide, delivery and care pages are published. See Information pages |
| Check your metal swatches | Every metal and colour has a swatch colour. See Swatches |
| Turn on a payment method | A payment method is enabled |
| Set up shipping | You have a shipping zone |
| Connect a newsletter | Optional: a newsletter plugin such as MailPoet is connected. See Newsletter |
| Activate your licence | Optional: your licence is active |
Each step has a button that takes you to the right screen.
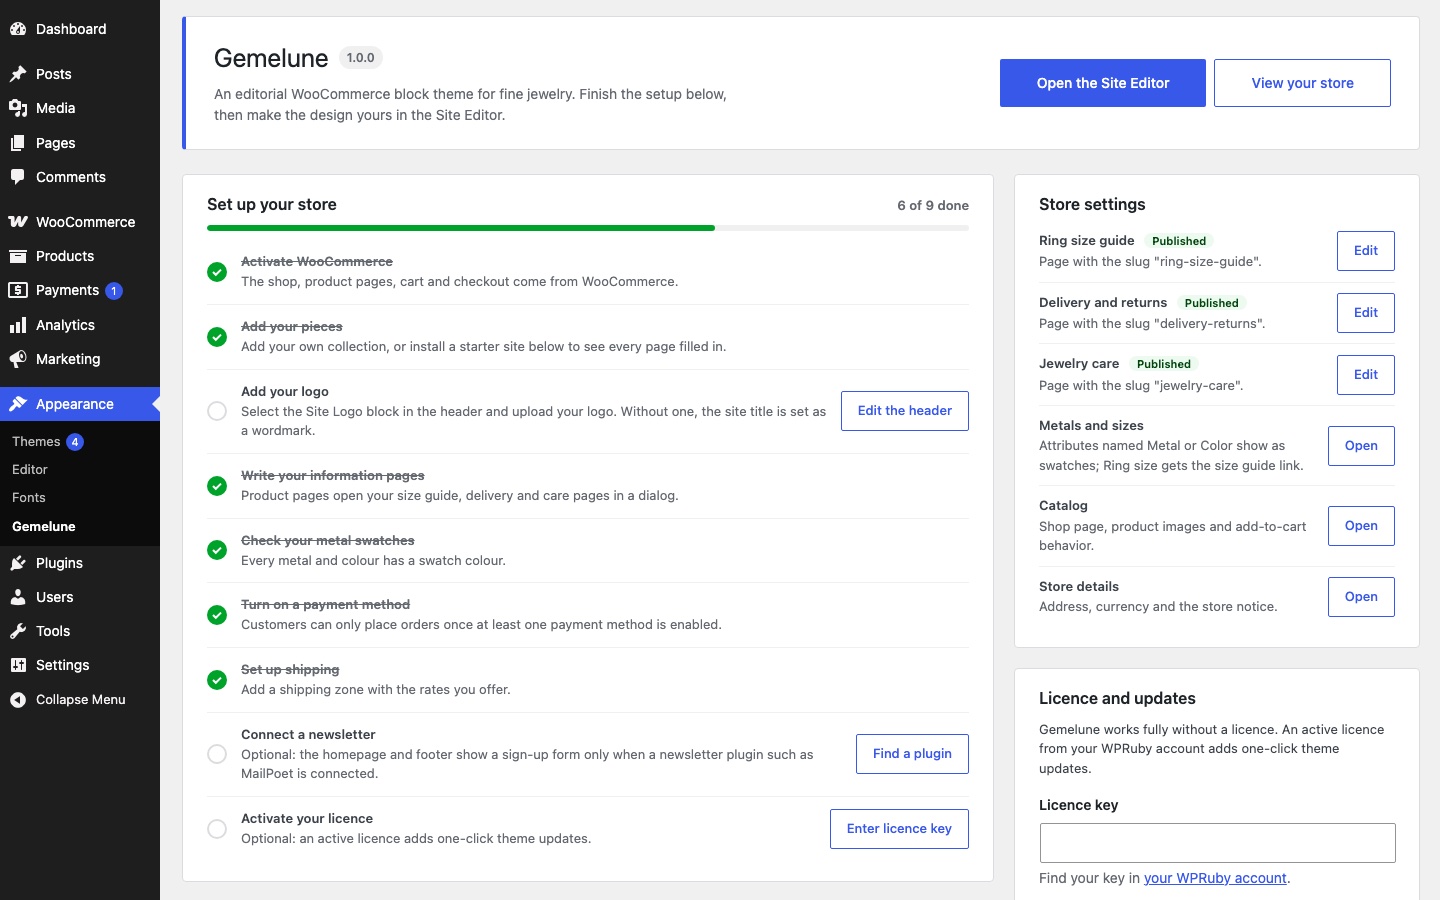
The same screen has shortcuts into the Site Editor, a preview of every style variation, the starter sites, the licence and help links.
Customizations that survive updates
Changes you make in the Site Editor are saved in your site’s database, so theme updates don’t overwrite them. For custom CSS, templates, patterns or PHP in files, use the child theme.